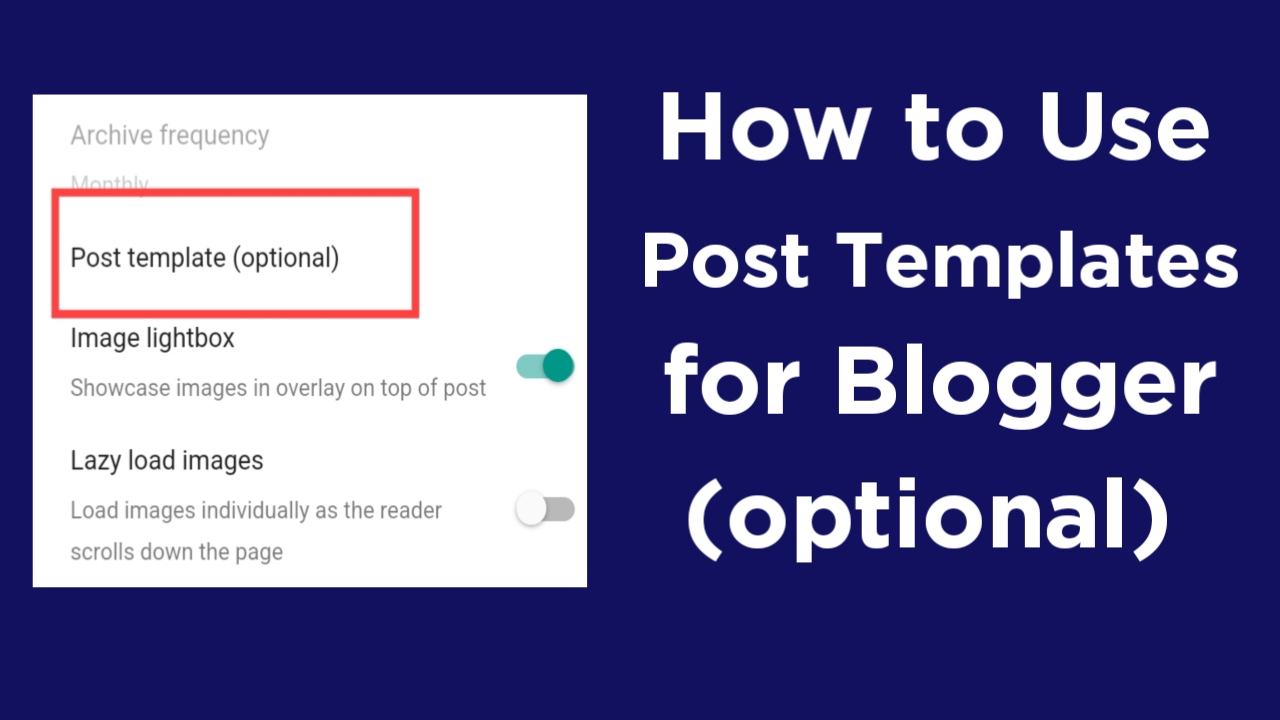
How to Use Post Templates for Blogger (optional)
templates in Blogger allow you to streamline your content creation process, ensuring uniformity and saving time. By setting up a default format for your posts, you can maintain consistency in layout, design, and structure. This guide will walk you through how to use and customize the Post Template (Optional) feature in Blogger with a step-by-step tutorial, including visuals to help you implement it effectively.
What is the Post Templates for Blogger (optional) Feature in Blogger?
The Post Template (Optional) feature allows you to pre-define a format or content snippet that automatically loads whenever you create a new post. This is especially helpful if your blog follows a specific structure, such as:

- Standard greetings or signatures.
- Content frameworks (like "Introduction," "Body," "Conclusion").
- Call-to-action (CTA) sections.
For example, if you run a tech blog, you might want a template like this:
Step 1 Go to View from Compose View of your Blogger
Design the post or design the system you want to automatically add new posts to your blogger e.g.
Step 2 Go to HTML View from Compose View of your Blogger post
Copy all the codes from the html view of your blogger post
Once your post design is complete, copy all the HTML codes of the post and then follow the steps mentioned below
Step-by-Step Guide to Setting Up Post Templates in Blogger
Follow these steps to configure and use post templates in Blogger:
Step 3: Go to your account Settings
- On the left-hand sidebar, click on Settings.
- Scroll down to the Posts section.
Step 4: Locate the "Post Template" Option
- Under the Posts section, find the Post Template (Optional) field.It will look like this:
- Click inside the box to start creating your template.
Step 5: Design Your Template
- Write your desired default structure or content in the text box.Example template for a travel blog:
Step 6: Save the Template
- After finalizing your template, click the Save button at the bottom of the Settings page.
Step 7: Test Your Template
-
Go back to the Blogger dashboard and click on New Post.You should now see the template you created pre-loaded in the content editor.Example:
-
Start adding your content by replacing the placeholders.
How to Edit or Update Your Post Template
You can update your post template anytime by following these steps:
- Go to Settings > Post Template in your Blogger dashboard.
- Modify the content or structure in the field.
- Save the changes. All new posts created afterward will reflect the updated template.
Tips for Using Post Templates Effectively
- Keep It Simple: Only include elements you use frequently to avoid unnecessary clutter.
- Use Placeholders: Placeholders like
[Your Text Here]or[Insert Image]remind you to customize the content. - Incorporate Branding: Add your blog's branding, such as a signature, tagline, or standard footer message.
- Utilize HTML: For advanced users, HTML can make templates more dynamic and visually appealing.
Benefits of Using Post Templates in Blogger
- Time Efficiency: Saves time by pre-filling repetitive content.
- Consistency: Ensures all posts follow a uniform structure.
- Professional Look: Gives your blog a polished, well-organized appearance.
- Focus on Content: Reduces distractions, allowing you to concentrate on writing.
Limitations to Consider
- Templates apply only to new posts; existing posts won’t be affected.
- Overusing pre-written content might make posts feel repetitive.
Take a look at the complete system
Conclusion
Using post templates in Blogger is a powerful way to simplify your blogging process. By setting up a default structure, you can save time, enhance consistency, and focus on creating high-quality content. Whether you're a beginner or a seasoned blogger, this feature can help streamline your workflow and elevate your blog's professionalism.
Take a few minutes today to set up your post template, and enjoy a more efficient blogging experience!
সববসসবসবনসমসমসনডনডমশমসনসহসহহসহসহসহসহসহহীহসহসহসহ


%20(1)%20(1)%20(2)%20(1)%20(3)%20(1).webp)

%20(1).webp)
%20(1).webp)